|
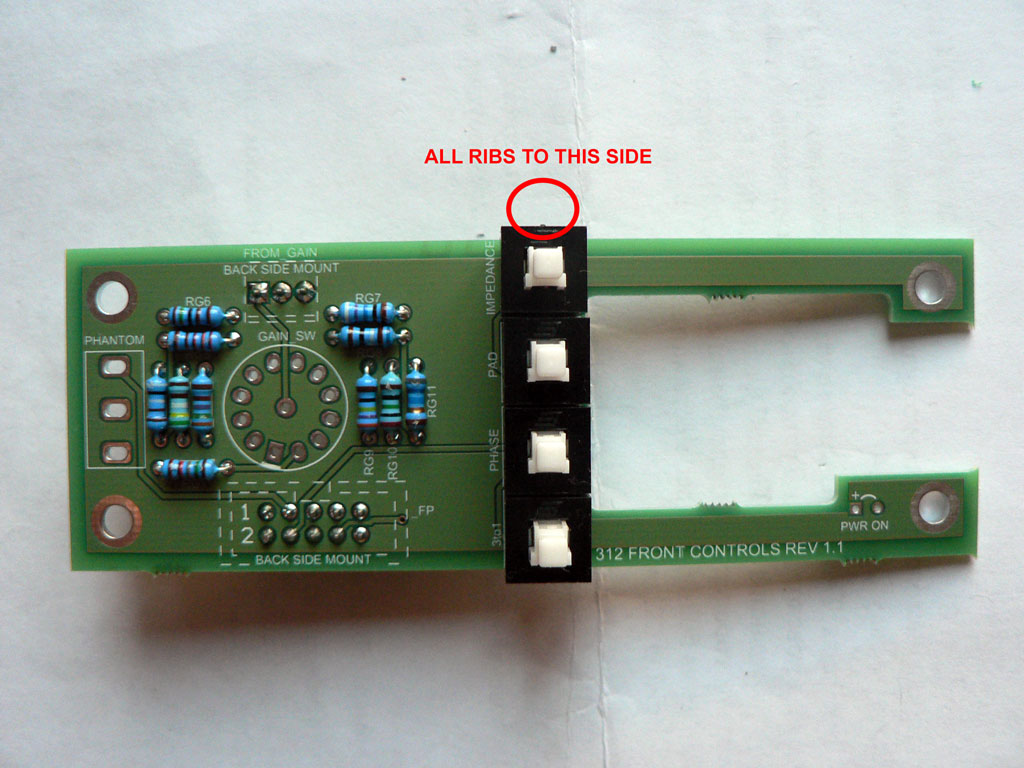
Solder all pushbuttons to the front control PCB. Make sure the orientation of the buttons is correct - the rib on each button should be oriented as shown on the photo. When soldering buttons make sure they sit flat on the PCB. |
 |
|
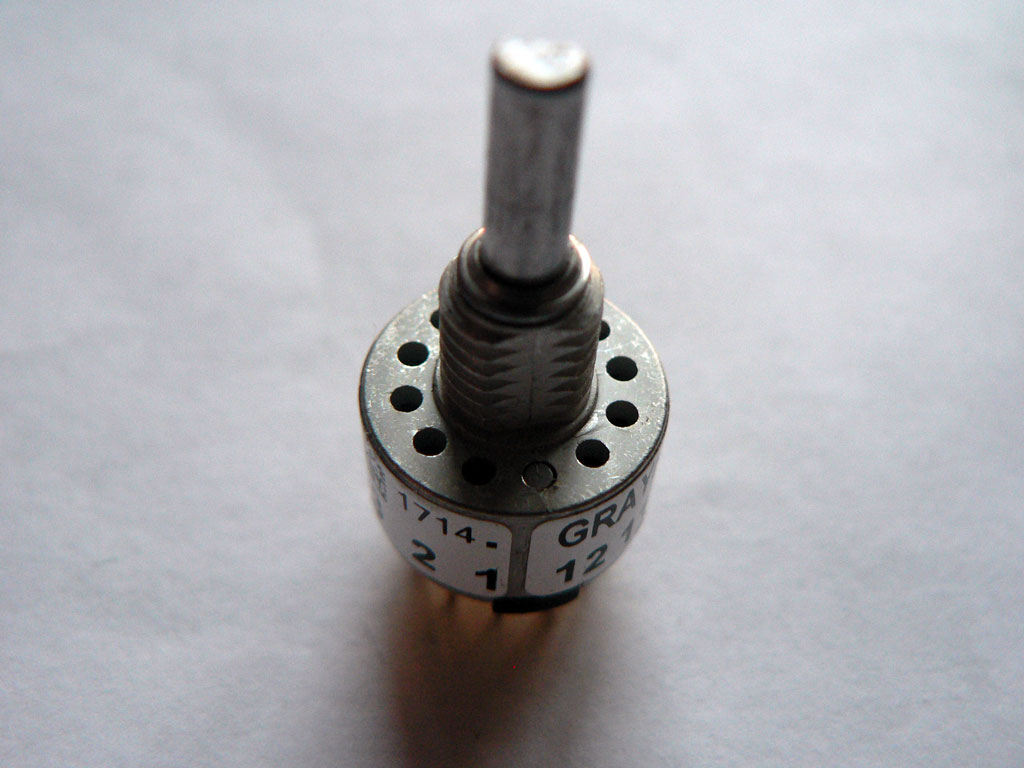
Take the gain switch and insert a stop pin as shown on the photo. This will stop the switch at 12 positions. Put an adhesive foil on top of the switch to prevent the pin from falling out. |
 |
|
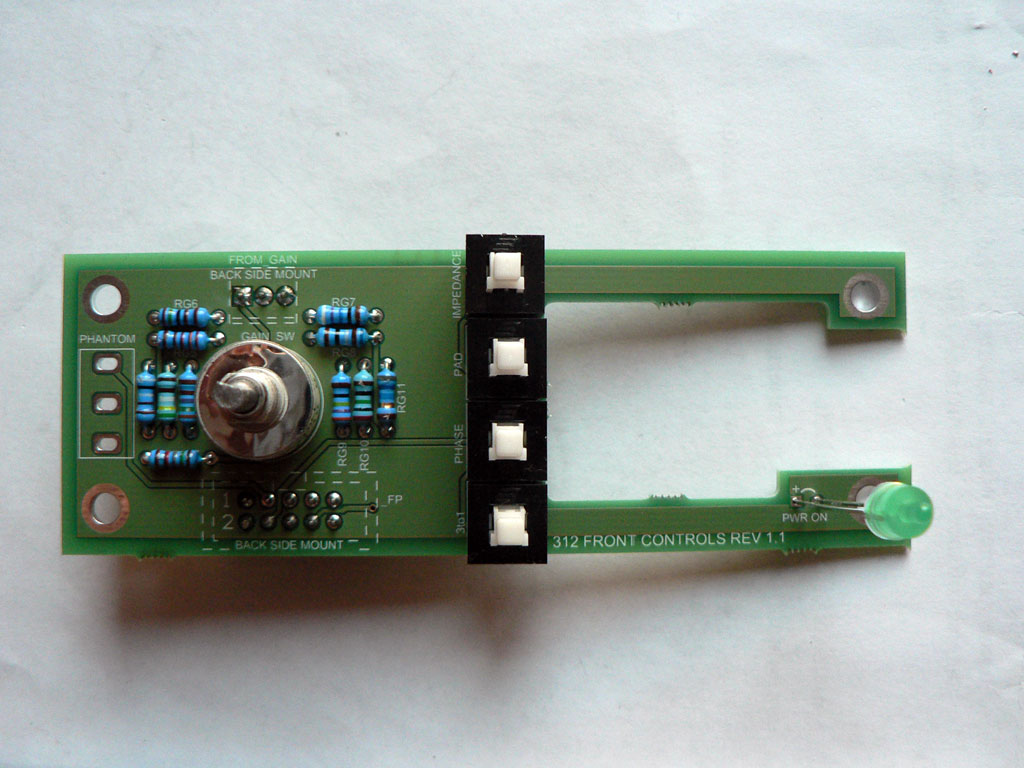
Insert switch, but don't solder it yet. Make sure to orient the switch correctly. The first pin is denoted with a square pad on the PCB. Insert the Power on LED, but don't solder it yet. Observe the polarity! LEDs often have the longer positive leg. |
 |
|
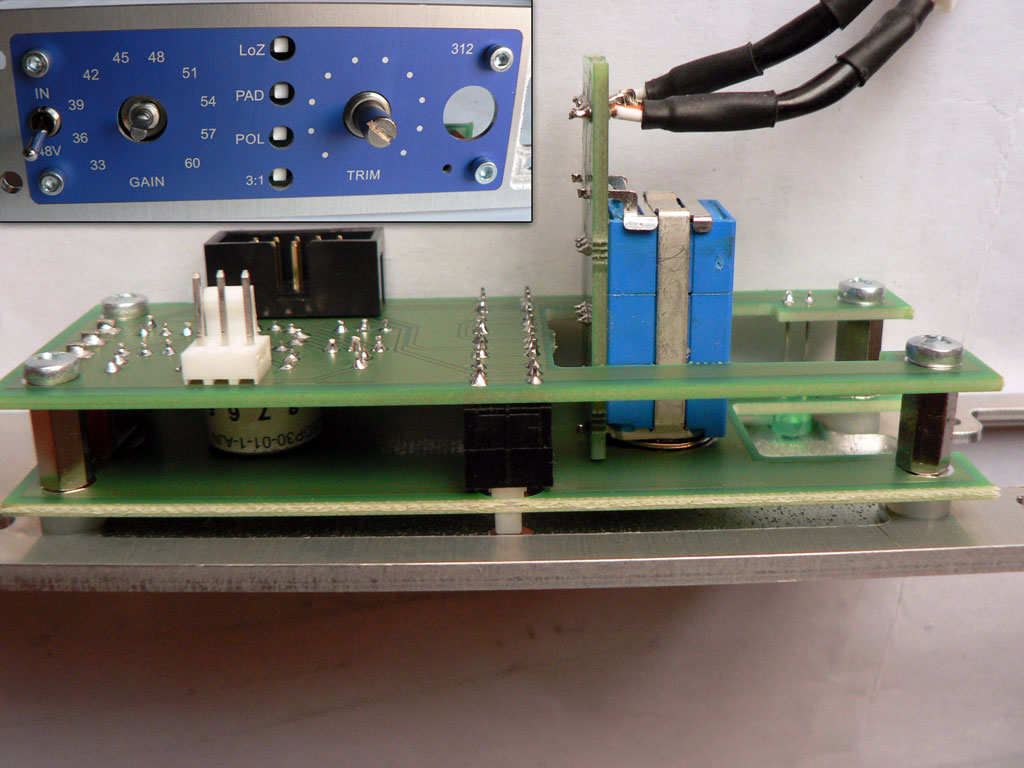
Attach Phantom switch and Output trim to the front mounting bracket. Important! Orientation of the Output trim on the photo is not correct - it should be turned 90 degrees colckwise. The PCB should be facing buttons to the left. Please refer to the photo several steps below. |
 |
|
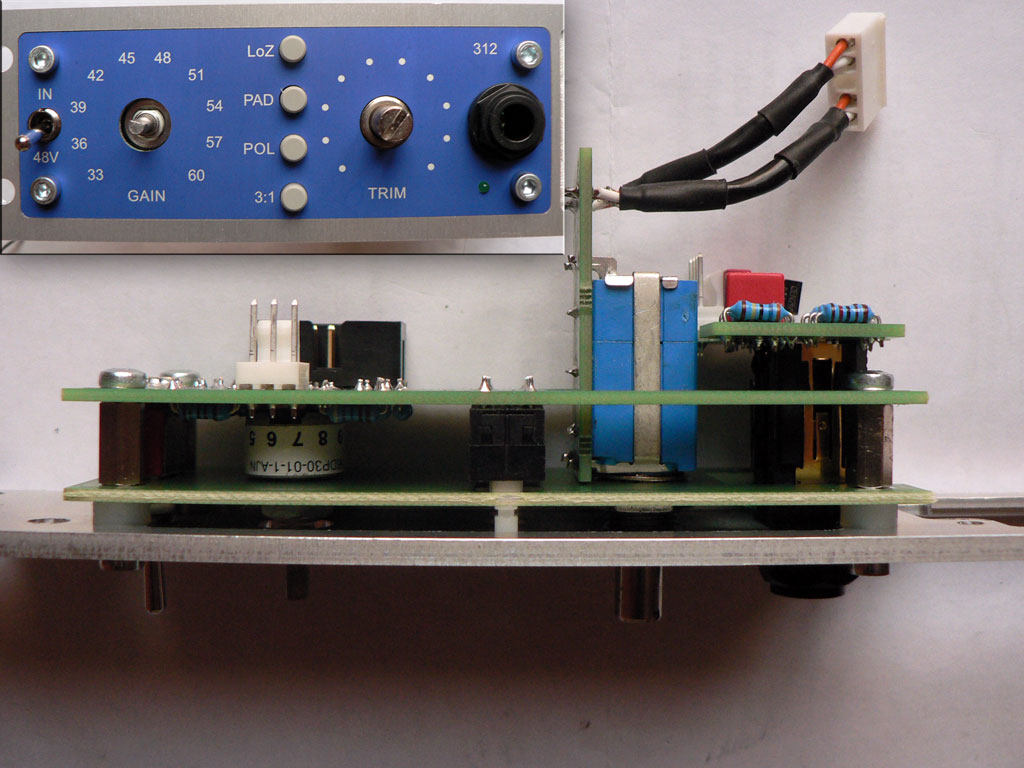
Insert the Phantom switch in the PCB pads, but don't solder it yet. Fix the gain switch to the mounting bracket. Important! All washers should be at the top side of the mounting bracket. Refer to the photo for clarification. |
 |
|
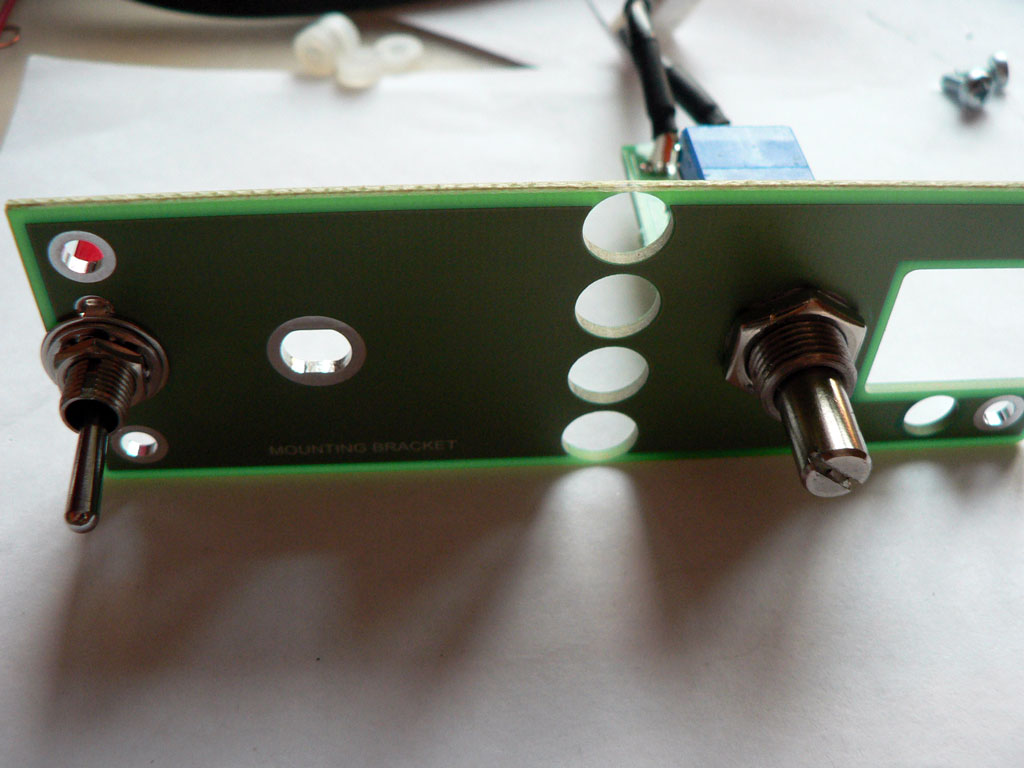
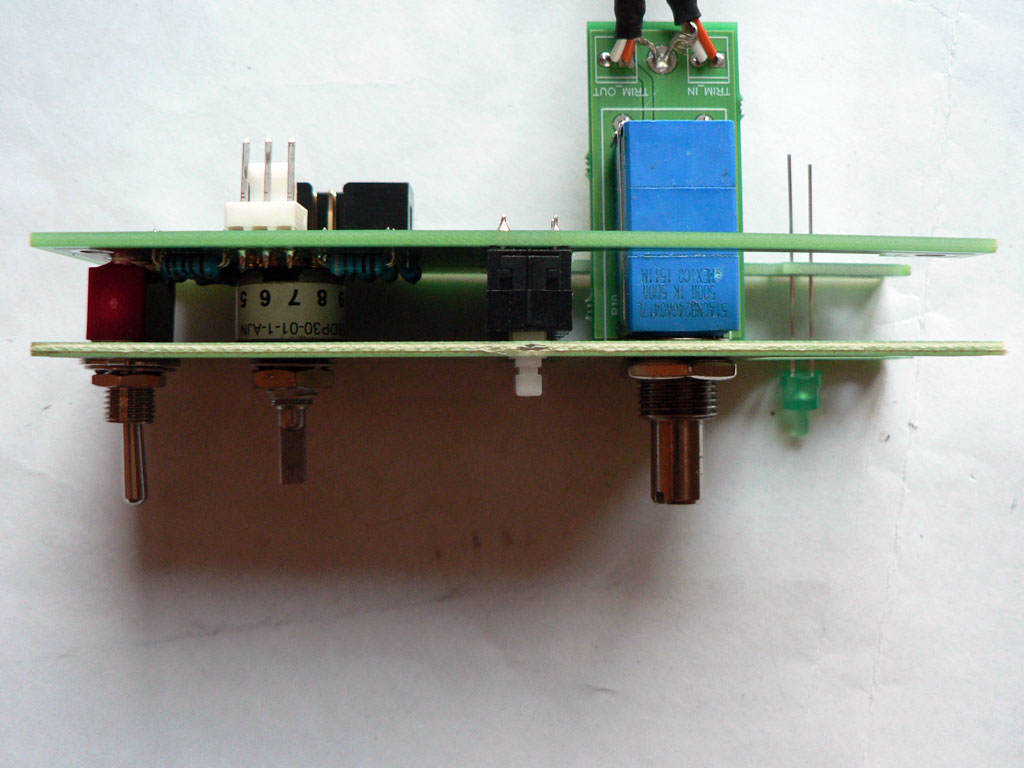
Attach the front panel assembly to the 4-channel frame main front panel using the socket head cap screws (provided with the module front panel) and 10mm brass stand-offs. Use plastic stand-offs to offset the mounting bracket as shown on the photo. Fix the front controls PCB with M3 screws to the brass stand-offs. Solder Phantom and Gain switches to the PCB. Note: correct orientation of the Output trim PCB is shown on the photo. |
 |
|
Install the DI PCB to the module front panel. DI PCB is held in place by the DI jack socket. This socket has a detachable cap. When you insert the socket in the front panel cut-out, you need to press on this cap and then turn in clockwise to fix the assembly. Install caps on the buttons. You may install the control knobs as well. We decided to leave this until the very end. |
 |
We can move on to the Enclosure preparation